Prerequisites
- A Shopify store (any plan)
- A Didit Console account with at least one workflow
Step 1: Install the app
- Open the install link: https://admin.shopify.com/oauth/install?client_id=091c43ccd91f610a1e647b0067e03ac1
- Select your store (if you have multiple stores)
- Click Install to add the app to your store
The app requests a single permission scope —
read_customers — used to prefill and cross-check the logged-in customer’s details when Auto-send Customer Data is enabled.Step 2: Configure Your Didit Credentials
After installation, you’ll be redirected to the Didit Verify Preferences page. Here you’ll connect the app to your Didit account.Get Your API Key
- Log in to the Didit Business Console
- Navigate to API & Webhooks in the left-hand sidebar
- Copy your API key
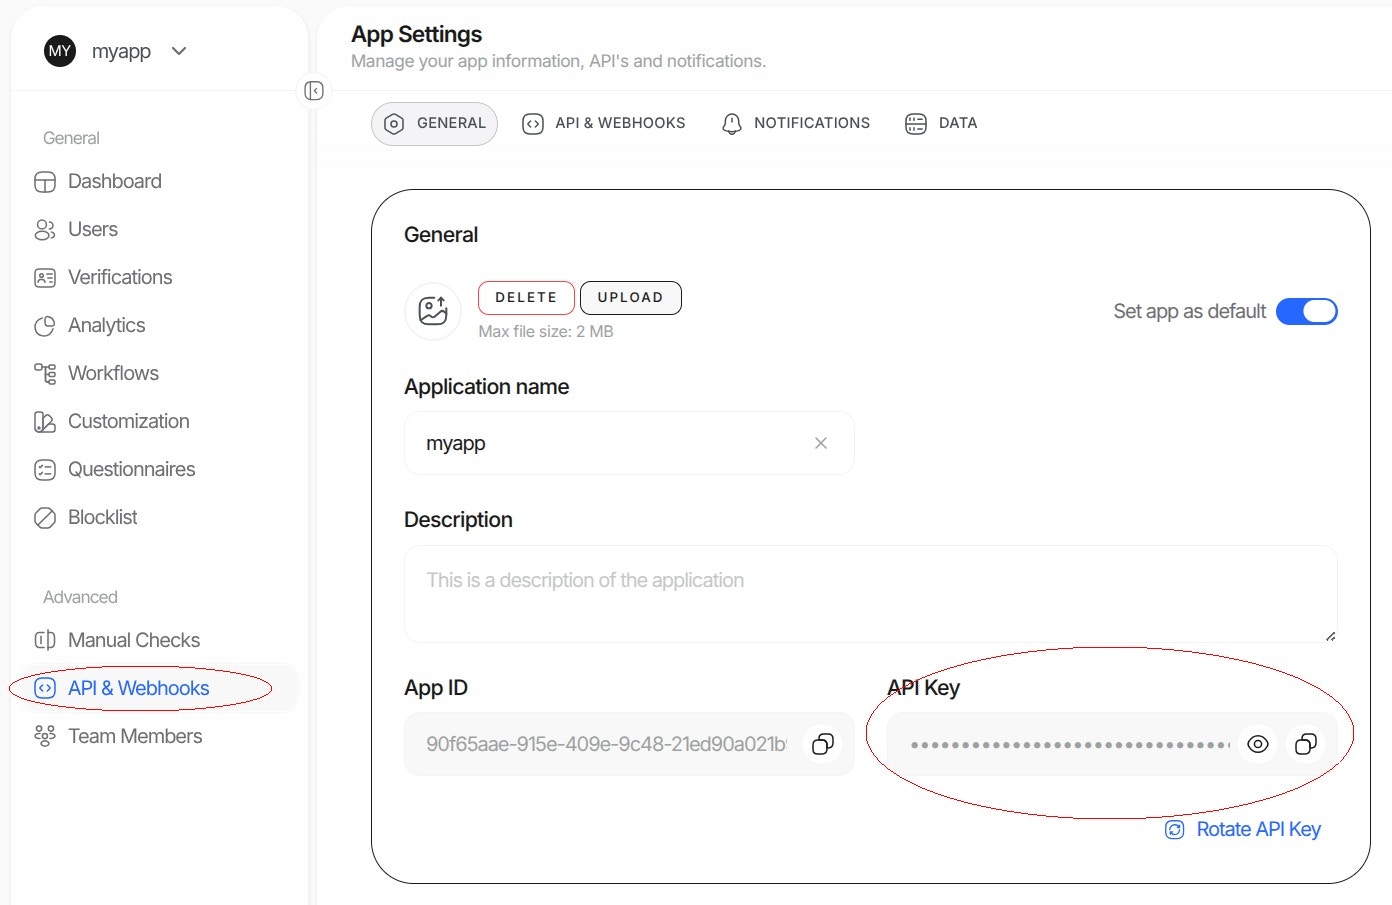
- Paste the API key into the Didit API Key field in the Shopify preferences
Get Your Workflow ID
- In the Didit Business Console, go to Workflows
- Select the workflow you want to use (or create a new one)
- Copy the Workflow ID (a UUID like
xxxxxxxx-xxxx-xxxx-xxxx-xxxxxxxxxxxx)
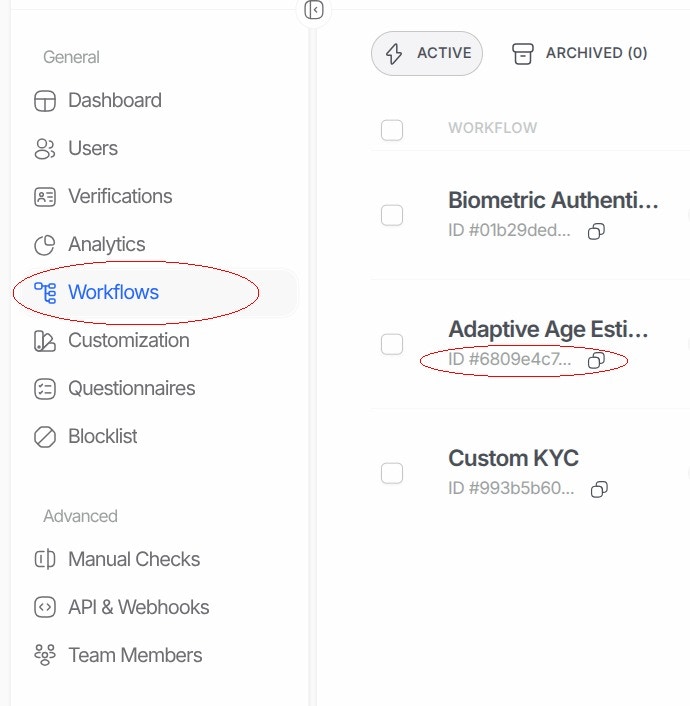
- Paste the Workflow ID into the Didit Workflow ID field
Save Your Settings
Click Save Settings. You should see a success message: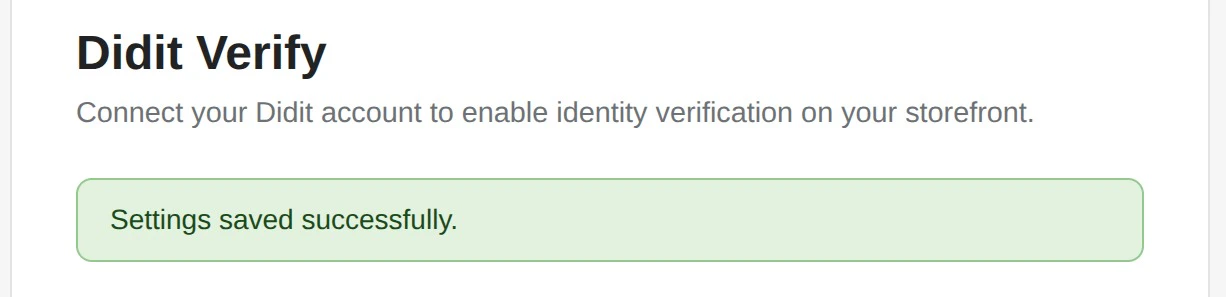
Step 3: Add the Verify Button to Your Theme
- In your Shopify admin, go to Online Store → Themes
- Click Customize on your active theme
- Navigate to the page where you want the verification button (e.g., Account page, a custom page)
- Click Add section or Add block
- Go to the Apps tab
- Select Didit Verify
Configuration Options
Preferences Page Settings
These settings are configured in the app preferences (accessible from Apps → Didit Verify in your Shopify admin):| Setting | Description |
|---|---|
| API Key | Your Didit API key (required) |
| Workflow ID | The verification workflow to use (required) |
| Vendor Data | How sessions are linked to users in your Didit Console: Customer ID (sent as shopify-<customer-id>), Customer Email, Shop + Customer ID (sent as <shop-domain>-<customer-id>), or None. Only applied when the customer is logged in. |
| Callback URL | Optional URL where users are redirected after verification. Didit appends verificationSessionId and status as query parameters. |
| Callback Method | Which device handles the redirect: Default (initiator), Initiator, Completer, or Both |
| Language | Verification UI language (auto-detect or specific language) |
| Require Customer Login | If enabled, only logged-in customers can verify |
| Auto-send Customer Data | Prefill verification with the logged-in customer’s name, email, phone, and country, and cross-check them against the verified document |
Theme Block Settings
These settings are configured in the Shopify theme editor when you select the Didit Verify block:Connection
| Setting | Description |
|---|---|
| Mode | API Session (recommended) — creates unique sessions per user. UniLink — uses a fixed verification URL (no backend needed). |
| UniLink URL | Only used in UniLink mode. Paste your UniLink URL from the Didit Console. |
Display
| Setting | Description |
|---|---|
| Display Mode | Modal — opens verification in a popup overlay. Embedded — shows verification inline below the button. |
| Show close button | Show/hide the X button to close the verification modal |
| Exit confirmation dialog | Ask users to confirm before closing verification |
| Auto-close on completion | Automatically close the modal when verification completes |
| Debug logging | Enable browser console logs for troubleshooting |
Button Appearance
| Setting | Description |
|---|---|
| Button text | Text shown on the button (default: “Verify your Identity”) |
| Success text | Text shown after successful verification (default: “Identity Verified ✓“) |
| Background color | Button background color |
| Text color | Button text color |
| Border radius | Button corner roundness (0–50px) |
| Vertical padding | Top/bottom padding (0–40px) |
| Horizontal padding | Left/right padding (0–60px) |
| Font size | Button text size (10–32px) |
Recommended Setup
For most stores, we recommend:- Mode: API Session (creates unique verification sessions, better tracking)
- Display Mode: Modal (works everywhere, no layout issues)
- Require Customer Login: Enabled (links verification to customer accounts)
- Auto-send Customer Data: Enabled (prefills customer info, faster verification)
Testing
- Preview your theme or visit your store
- Navigate to the page with the Didit Verify button
- Click Verify your Identity
- Complete the verification flow
- Check your Didit Business Console to see the verification result
Didit includes 500 free verifications per month — more than enough to test the full flow at no cost.
Troubleshooting
Button does nothing when clicked
- Make sure you’ve saved your API Key and Workflow ID in the preferences
- Check that the Workflow ID belongs to the same application as your API Key
- Enable Debug logging in the block settings and check the browser console for errors
”Didit credentials not configured” error
- The app has no saved API Key or Workflow ID for this store. Open Apps → Didit Verify, fill in both fields, and click Save Settings
”You must be logged in to verify your identity”
- Require Customer Login is enabled (the default). The customer needs to log in to their store account first — or disable the setting in the app preferences if you need guest verification
Settings won’t save
- “API key validation failed” — re-copy the API key from the Didit Business Console and make sure there are no extra spaces
- “This workflow does not belong to your application” — the Workflow ID belongs to a different Didit application than your API key; copy both from the same application
Support (24/7)
Our team is available to help you get up and running.WhatsApp Support
Fastest response — reach us directly on WhatsApp.
Send us an email at hello@didit.me.