

 Get Started
 Integrate / SDKs
 User Verification
 Business Verification
 Transaction Monitoring
 Authentication
 Changelog
over_18 or a verified name, in the person’s tokens, never their documents or photos.
Set it up in the console under Authentication > Verified identity, or by API with verified/.
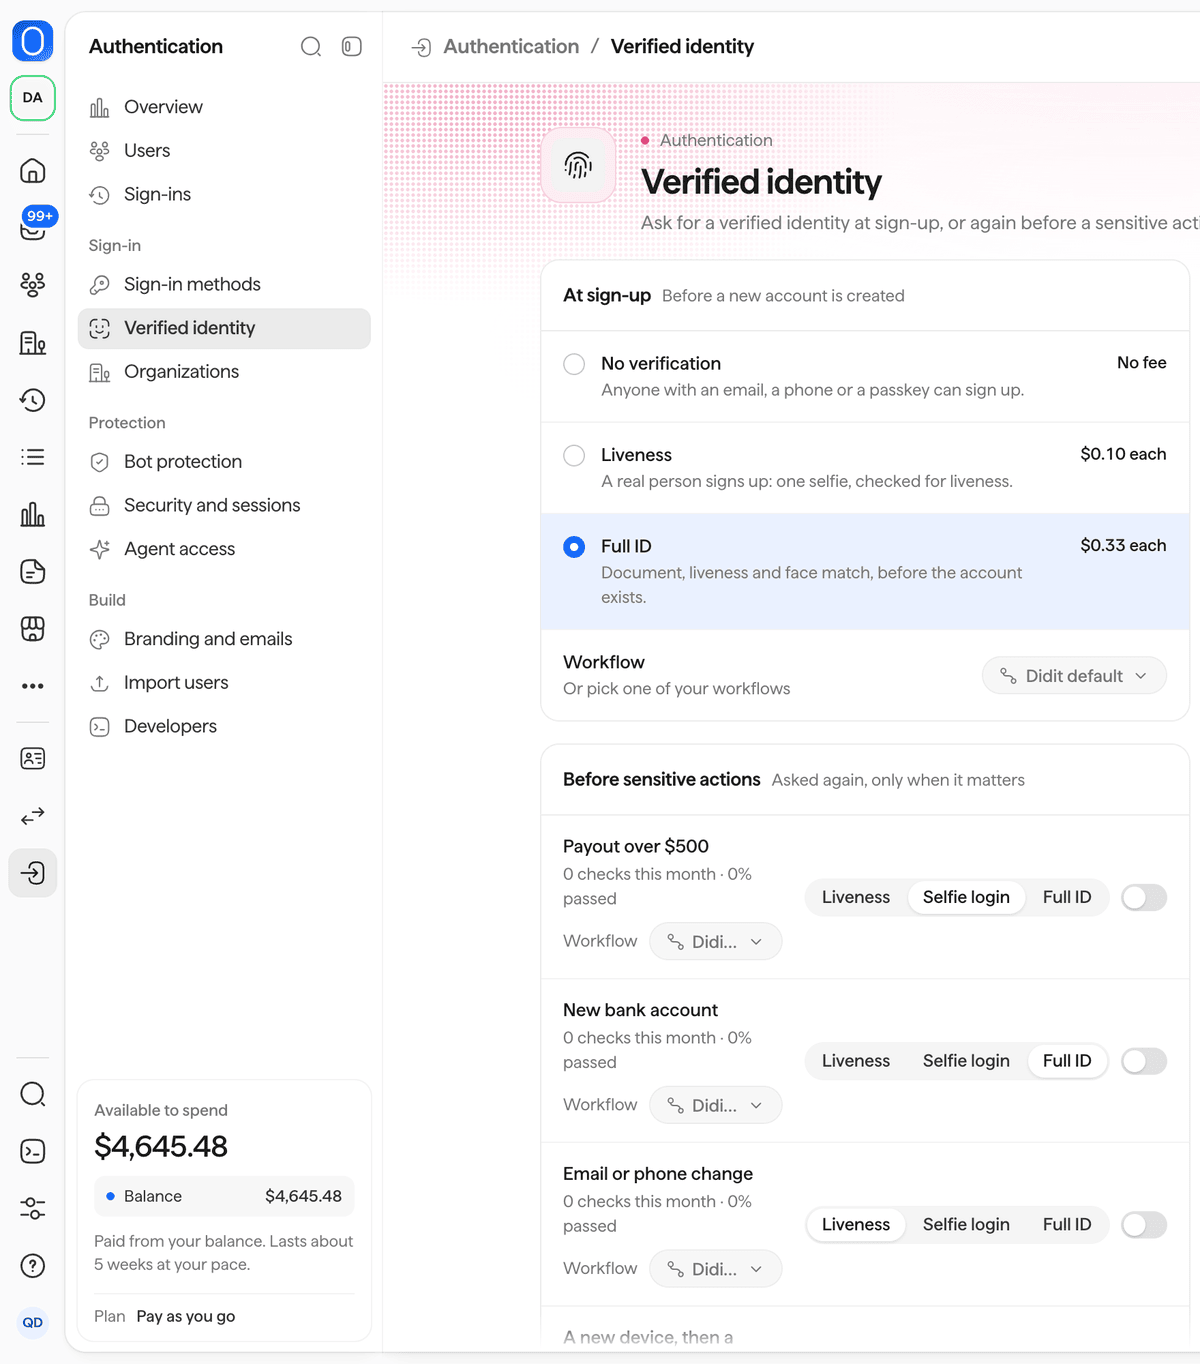
Authentication > Verified identity: the check at sign-up and the rules before sensitive actions.
How it works
Every check runs as a verification session of your own application, created with the person’svendor_data.
That means it appears in your verifications and on the same person as their sign-ins and transactions, goes to manual review like any other verification, and is billed at that verification’s price.
Didit runs each check with its default workflow, or with one of your own workflows that you pick for that check.
See pricing for every verification price.
At sign-up
Choose the level a person must pass before their account is created:
A new level applies to people who sign up from then on, never to existing accounts.
On the hosted pages, Didit sends the person through the check during sign-up.
On your own screens, the sign-up call answers
verification_required with a verification_url that works for 30 minutes: send the person there.
Didit issues the sign-in code only after the check is approved.
Step-up before sensitive actions
A step-up asks the person to verify again, only when an action is risky enough. You turn on the rules, and your app asks Didit before each sensitive action whether one applies.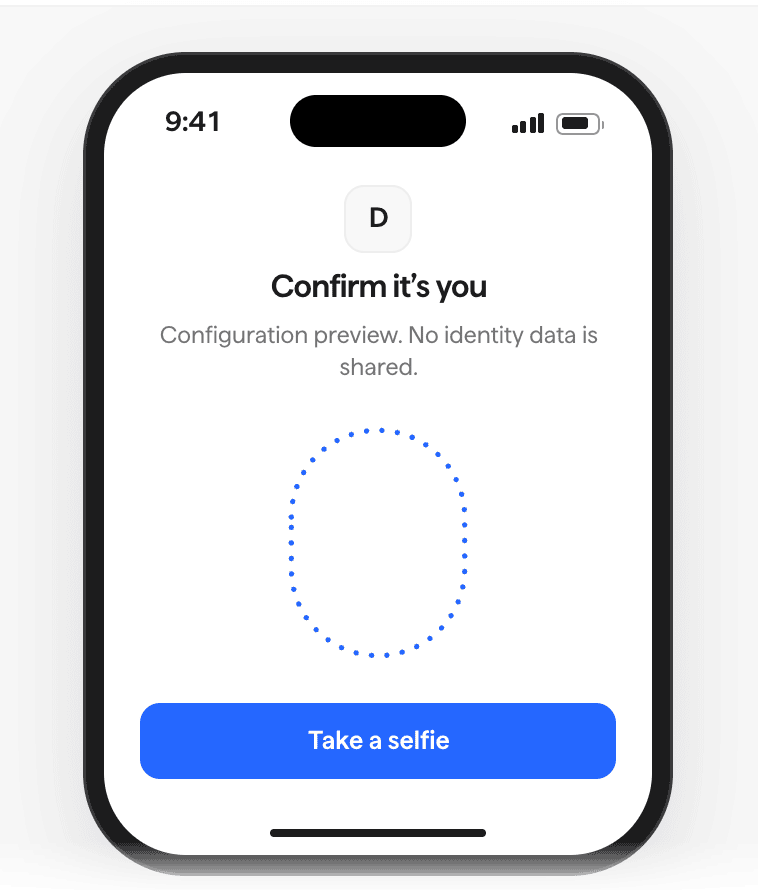
What a person sees when a step-up asks for a selfie.
You can change the check of each rule to liveness, selfie login or full ID.
When several rules apply, Didit asks for the strongest check.
When Didit holds no face for the person yet, a selfie login becomes a full ID check.
Ask for a step-up
Your app callsPOST {issuer}/step-up/ with the person’s access token, or the SDKs’ stepUp() method:
200 {"required": false}: no rule applies, so go ahead.201withverification_url: send the person there. The step-up stays open for 30 minutes (expires_in: 1800).
Read the result on your backend
The person comes back toreturn_to with step_up=<id>&status=approved added, but that query proves nothing.
Your backend reads the step-up with GET {issuer}/step-up/{step_up_id}/ and an access token of the same session, and acts only when status is approved.
A step-up never fails open: when verification is unavailable, the action stays blocked.
The JavaScript, Next.js and iOS quickstarts show the SDK side, and the API reference has the full contract.
What your app receives
Choose which verified claims go into the person’s tokens:
The access token and the ID token carry them in
verified, with level, the highest level the person passed: liveness, liveness_face_match or full_id.
It is {} when the person has passed none, and GET /session/ returns null instead.
- A check approved during a session reaches the tokens at the next refresh, within 5 minutes.
- Anything that holds the token can read these claims, your front end included, so select only the personal claims your app needs.
- Your app gets claims, never the document, the selfie or the face data.
Set it up by API
GET and PATCH on verified/ in your application’s Authentication management API read and change the same settings as the console:
A rule you leave out keeps its current settings.