

 Get Started
 Integrate / SDKs
 User Verification
 Business Verification
 Transaction Monitoring
 Authentication
 Changelog
Architecture
Four parts are involved:
No Didit API key and no secret ever belongs in your app: the publishable key is public, and the code exchange is protected by PKCE instead of a client secret.
Hosted pages or your own screens
Choose where people type their email, password or code. The setting issign_in_ui (hosted by default, or own), and you can change it later.
Passkeys belong to your application’s sign-in origin.
The SDKs’ passkey methods work only on pages served from that origin, so on your own screens on another domain, send people to the hosted page for passkeys.
Choose your SDK
Without an SDK, implement the authorization code flow with PKCE yourself: the JavaScript quickstart shows the whole contract.
Protect your backend
A frontend session check only controls what you show. Your backend makes every decision from a verified token.- Verify the access token on every request. Check the ES256 signature against your issuer’s JWKS, then
iss,aud,expandtyp: at+jwt, and reject a token whoseactis notnullunless the route accepts AI agents. See verify a token on your server. - Check the live session before a sensitive action. An access token stays valid until it expires, within 5 minutes.
GET /session/fails at once when the session was revoked, went idle or expired, when the person was blocked, or when the session no longer meets your MFA policy. See check the session. - Ask for a step-up when the action is risky. Before a payout, a new bank account or an email or phone change, ask Didit whether the person has to verify again, and act only on an
approvedstep-up that your backend read itself. See step-up before sensitive actions. - Take
vendor_datafrom the verified token, never from a field the browser sent, and use it for the person’s verifications and transactions.
Sessions
Change the lengths in Authentication > Security and sessions, or by API in application settings.
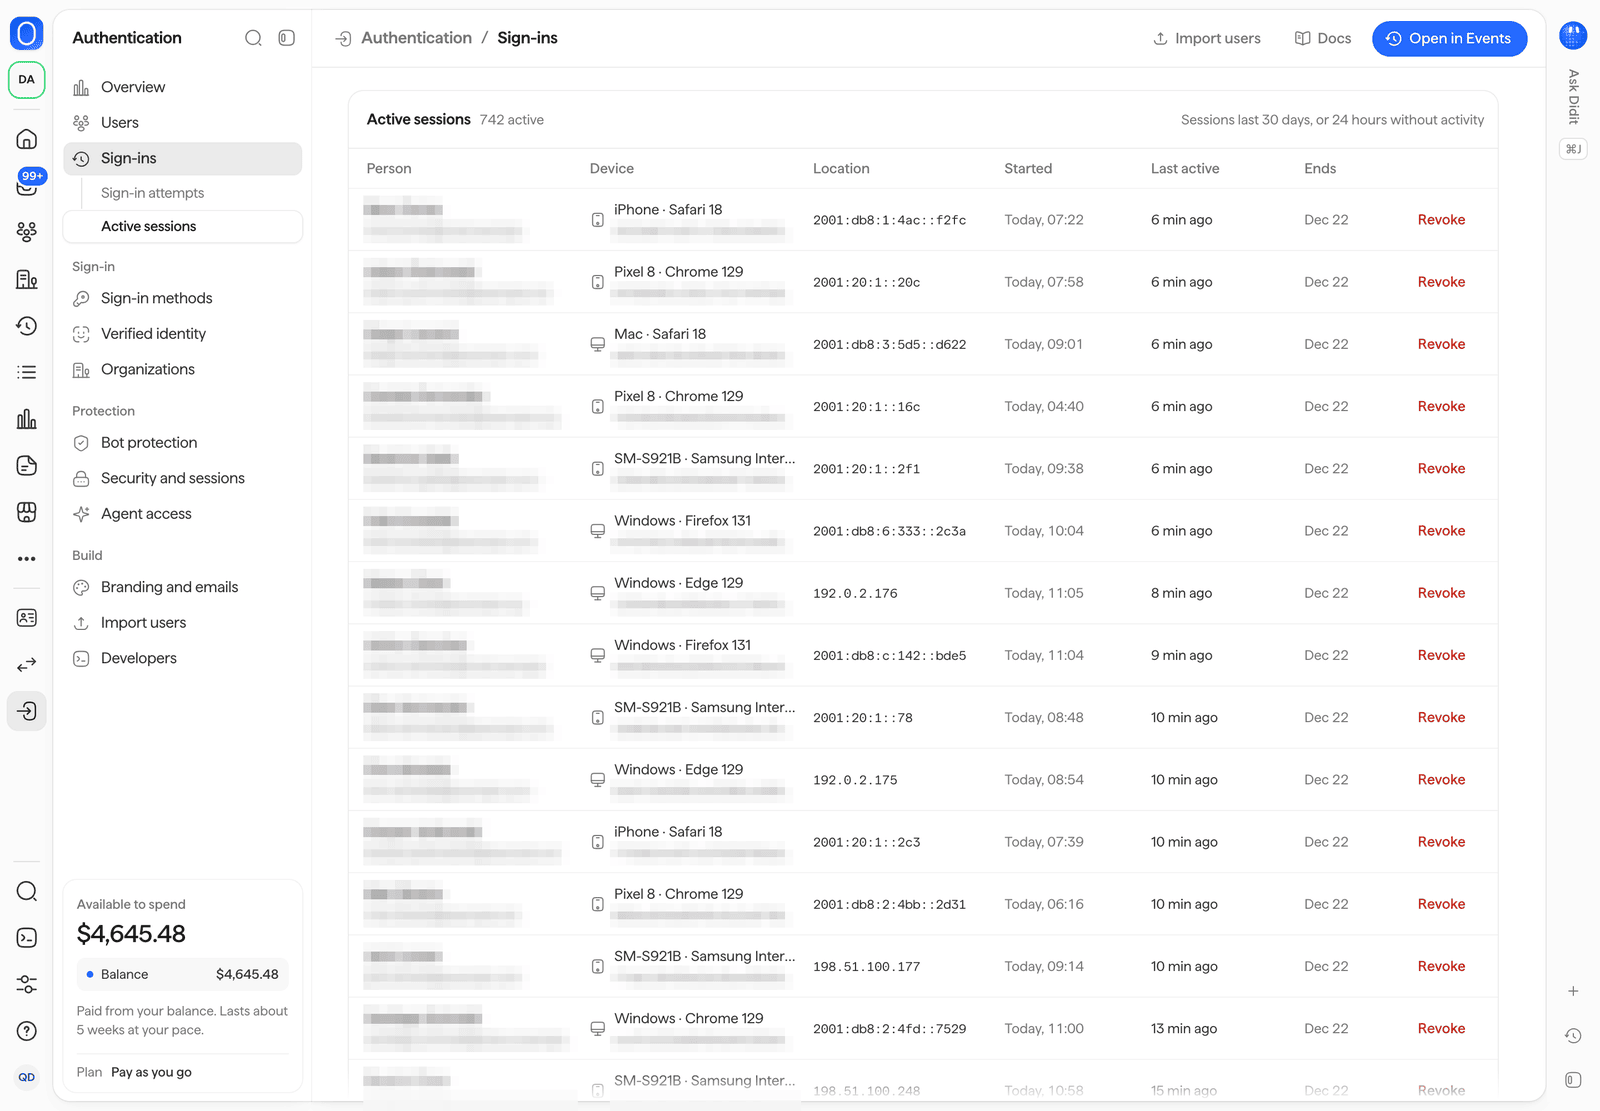
Authentication > Sign-ins > Active sessions, with Revoke on each session.
Native apps
Didit returns people to a native app through an HTTPS redirect only: it accepts no custom URL schemes.- iOS: make the redirect an associated domain, with
webcredentialsin yourapple-app-site-association. - Android: make the redirect an App Link, with your
assetlinks.json. - Register every redirect URL under Authentication > Security and sessions, like a web callback.
PUT native-apps/ on the Authentication management API.
Didit then lists them in the apple-app-site-association and assetlinks.json it serves on your sign-in origin.
MANAGEMENT_BASE is your application’s management API address, and an API key with the authentication scope at write can make the call.
The call replaces both lists, so send both:
The iOS and Android quickstarts show the app side.
Connect identity verification and transaction monitoring
Every person has onevendor_data value, in their tokens and their session.
Use it as vendor_data when you create a verification session or submit a transaction, and the console shows sign-ins, verifications and transactions on the same person.
- To verify people at sign-up or again before a payout without building a verification flow, use verified identity.
- Sign-in events reach event rules and the fraud views automatically. Do not post your own
auth.loginevents for the same sign-ins. - A successful sign-in never approves a verification or a transaction: handle each product’s decision separately.
Receive sign-in events
Subscribe a webhook destination to theauth.* types you need, such as auth.new_device or auth.account_locked.
Deduplicate on auth_event.event_id, and verify the signature as for every Didit webhook.
See events and webhooks for every type and its payload.
Move existing users
If your users already have accounts on another identity platform or in your own database, import them before you switch sign-in. Import their password hashes where the source gives them, keep their social links, and keep your own user IDs asexternal_id, which becomes their vendor_data.
Nothing changes for them until you switch your app to Didit.
Go-live checklist
- Authentication is turned on for your Live application on the Products page.
- Your production
https://redirect URLs and allowed origins are registered on the Live application. A Live application accepts nohttp://addresses. - Each social sign-in method uses your own app’s client ID and secret: Didit’s test credentials work in Sandbox only.
- Your production configuration has the Live publishable key (
pk_live_) and your Live issuer. - Your MFA policy, session lifetime, idle timeout, password length and sign-up policy are what you want. See application settings.
- Bot protection is on, with the breached-password check.
- Your backend verifies every access token, and calls
GET /session/before sensitive actions. - Your branding, page texts and terms and privacy links are set. If you plan a custom domain, activate it before people start adding passkeys.
- Your webhook destination is subscribed to the
auth.*types you handle. - You tested sign-up, returning sign-in, cancellation, forgot password, MFA, session expiry, sign-out and a revoked session on the Live application.