Verification dashboard overview
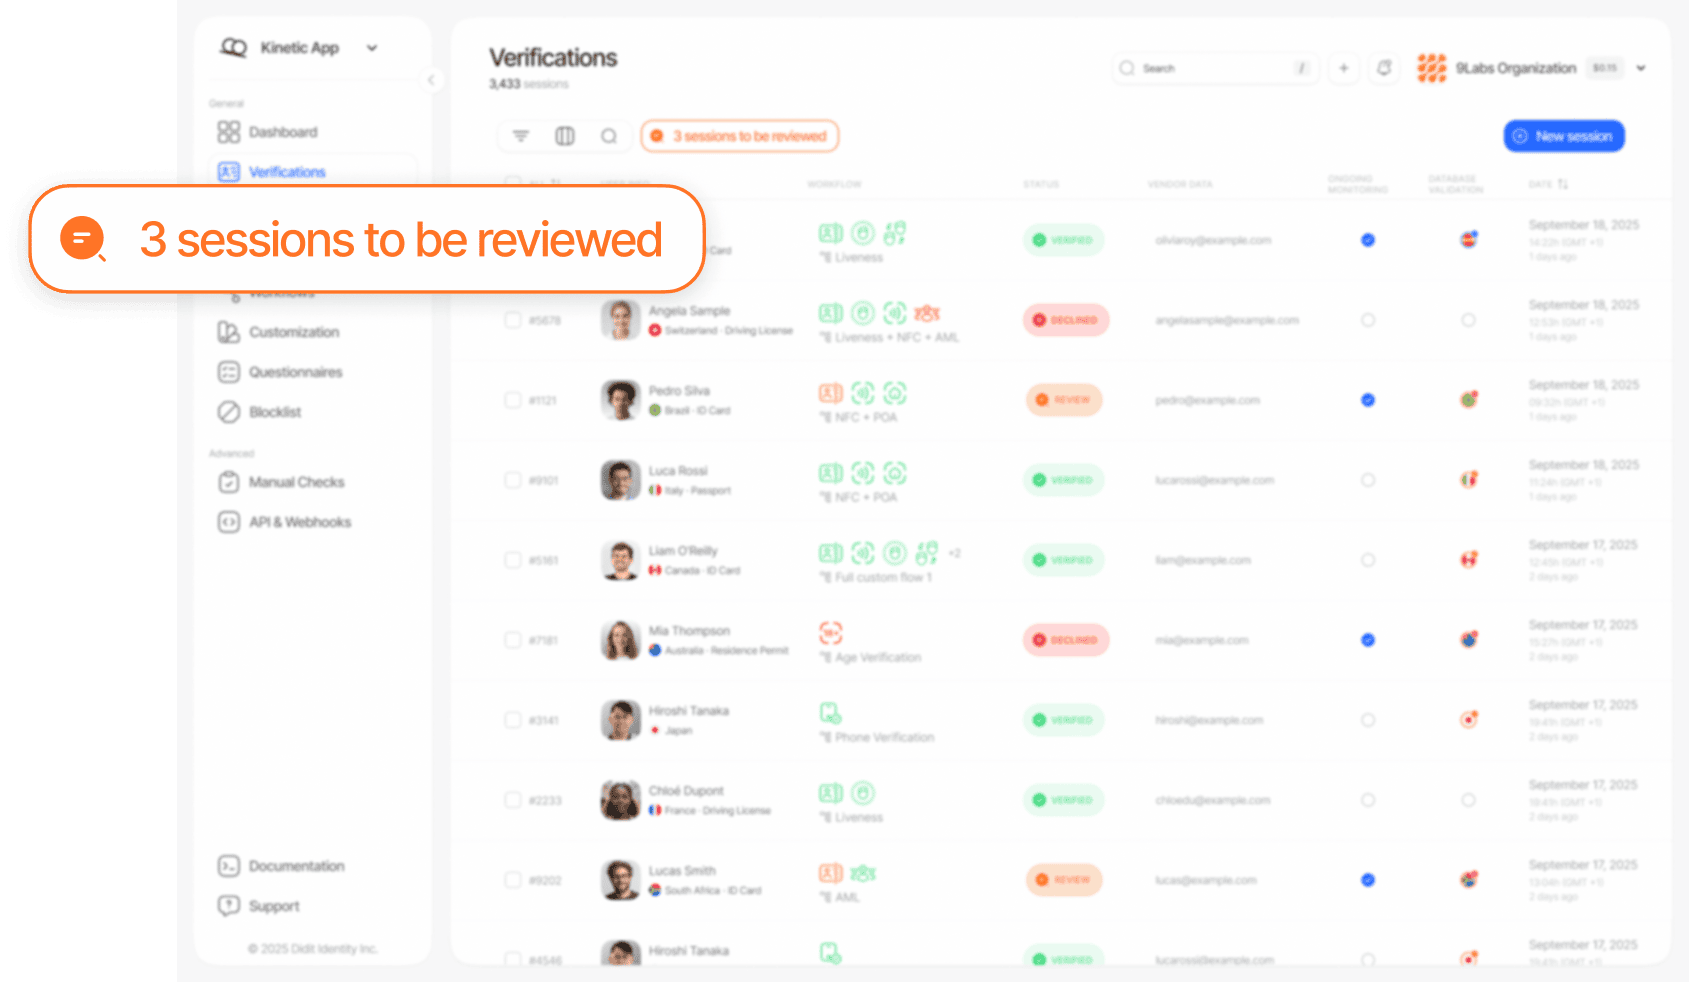
| Status | Meaning |
|---|---|
| Approved | The user passed all identity checks |
| Declined | The user failed one or more verification checks |
| In Review | Requires your manual attention before a decision can be made |
| Resubmitted | The user has been asked to redo specific verification steps |
How to conduct an effective manual review
Initial assessment
Click on any session to open the detailed session view:
- Review all warnings displayed in the session overview — these are the specific signals that triggered the manual review (e.g., low liveness score, AML match, document inconsistency).
- Review the user’s previous verification attempts — click on the user’s vendor data to access the session history and see if they have prior verification sessions.
- Review the session events timeline — the events section provides a chronological log of every action taken during the session.
Document inspection
Didit’s automated system already performs comprehensive document verification — including security feature detection, field-level data consistency checks, MRZ validation, expiry date verification, and image quality analysis. Your role is to evaluate the flagged warnings and visually confirm the document when needed.
- Review document warnings — check the specific warnings the system raised. Common warnings include data inconsistencies between fields, failed MRZ check digit validation, expired documents, or suspected tampering.
- Visually verify when warnings are ambiguous — if a warning suggests potential tampering or low image quality, inspect the document images directly. Look for signs of digital editing, cropping, screen capture, or physical manipulation.
- Check extracted OCR data — review the data the system extracted from the document and confirm it looks consistent. The system highlights fields where confidence is low.
- Review document matches — if Face Search or duplicate detection is enabled, check whether this user has been verified before under a different identity or if the document appears in your blocklist.
Biometric and liveness verification
Didit automatically performs face matching, liveness detection, and — if enabled — face search. Your role is to review the results when they are flagged.
- Face match score — the system computes a biometric similarity score between the selfie and the document portrait. When reviewing a flagged face match, focus on structural features like eye shape, nose geometry, jawline, and distinguishing marks.
- Liveness detection score — the liveness system detects presentation attacks such as printed photos, screen replays, deepfakes, and 3D masks. Poor camera quality or low lighting can sometimes produce lower scores for genuine users — consider requesting resubmission rather than declining.
- Face search results — review any matches carefully:
- Duplicate detection — a match with a different session may indicate the same person verifying under multiple identities.
- Blocklist matches — if the face matches a blocklisted user, this typically warrants a decline.
- False positives — facial similarity between different people does occur. Evaluate the confidence score and compare images visually.
Risk and signal review
Navigate through the AML, Device & IP Analysis, and Database Validation sections to assess contextual risk.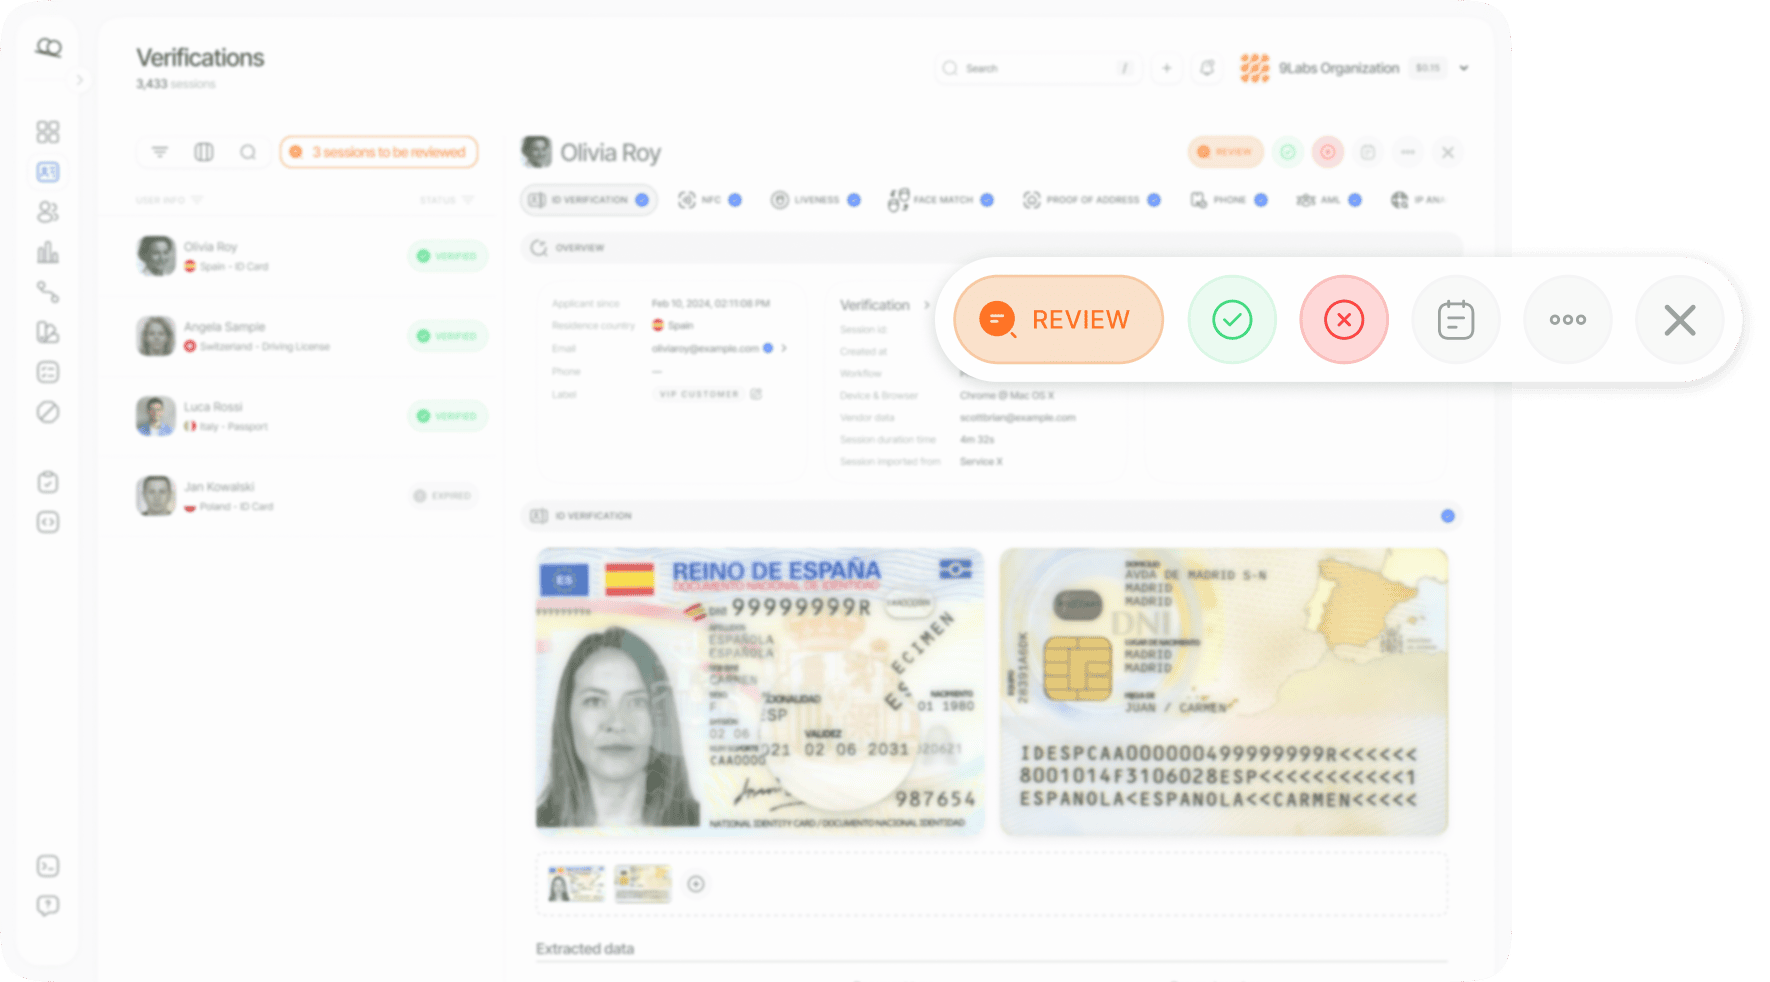
- No matches — low risk. No hits found against global watchlists, sanctions lists, or PEP databases.
- Matches found — review each matched entry. Check whether it’s a true positive or false positive, review the match category (PEP, sanctions, watchlist, adverse media), and consider the source and recency of the data.
- Geographic consistency — compare the document’s country of issue, the user’s claimed address, and the IP geolocation.
- VPN / Proxy detection — check if the user is connecting through a VPN, proxy, or Tor network.
- Device metadata — review the device type, operating system, and browser information for anomalies.
Making a decision
After completing your review, you have three options: Approve, Decline, or Request Resubmission.Approve
- Document appears authentic and unaltered
- All data fields are consistent and legible
- Selfie biometric match confirms the same person
- Liveness check score is within acceptable range
- No relevant AML, sanctions, or PEP matches
- Device and location data are consistent
Decline
- Document appears tampered, forged, or altered
- Selfie does not match the document photo
- High-confidence AML or sanctions match confirmed
- Strong indicators of a presentation attack
- Fraudulent identity patterns detected
- Critical device or location inconsistencies
Request resubmission
- Blurry or low-quality document images
- Failed liveness check due to technical issues
- Wrong document submitted
- Incomplete or expired verification steps
- Fixable issues the user can correct
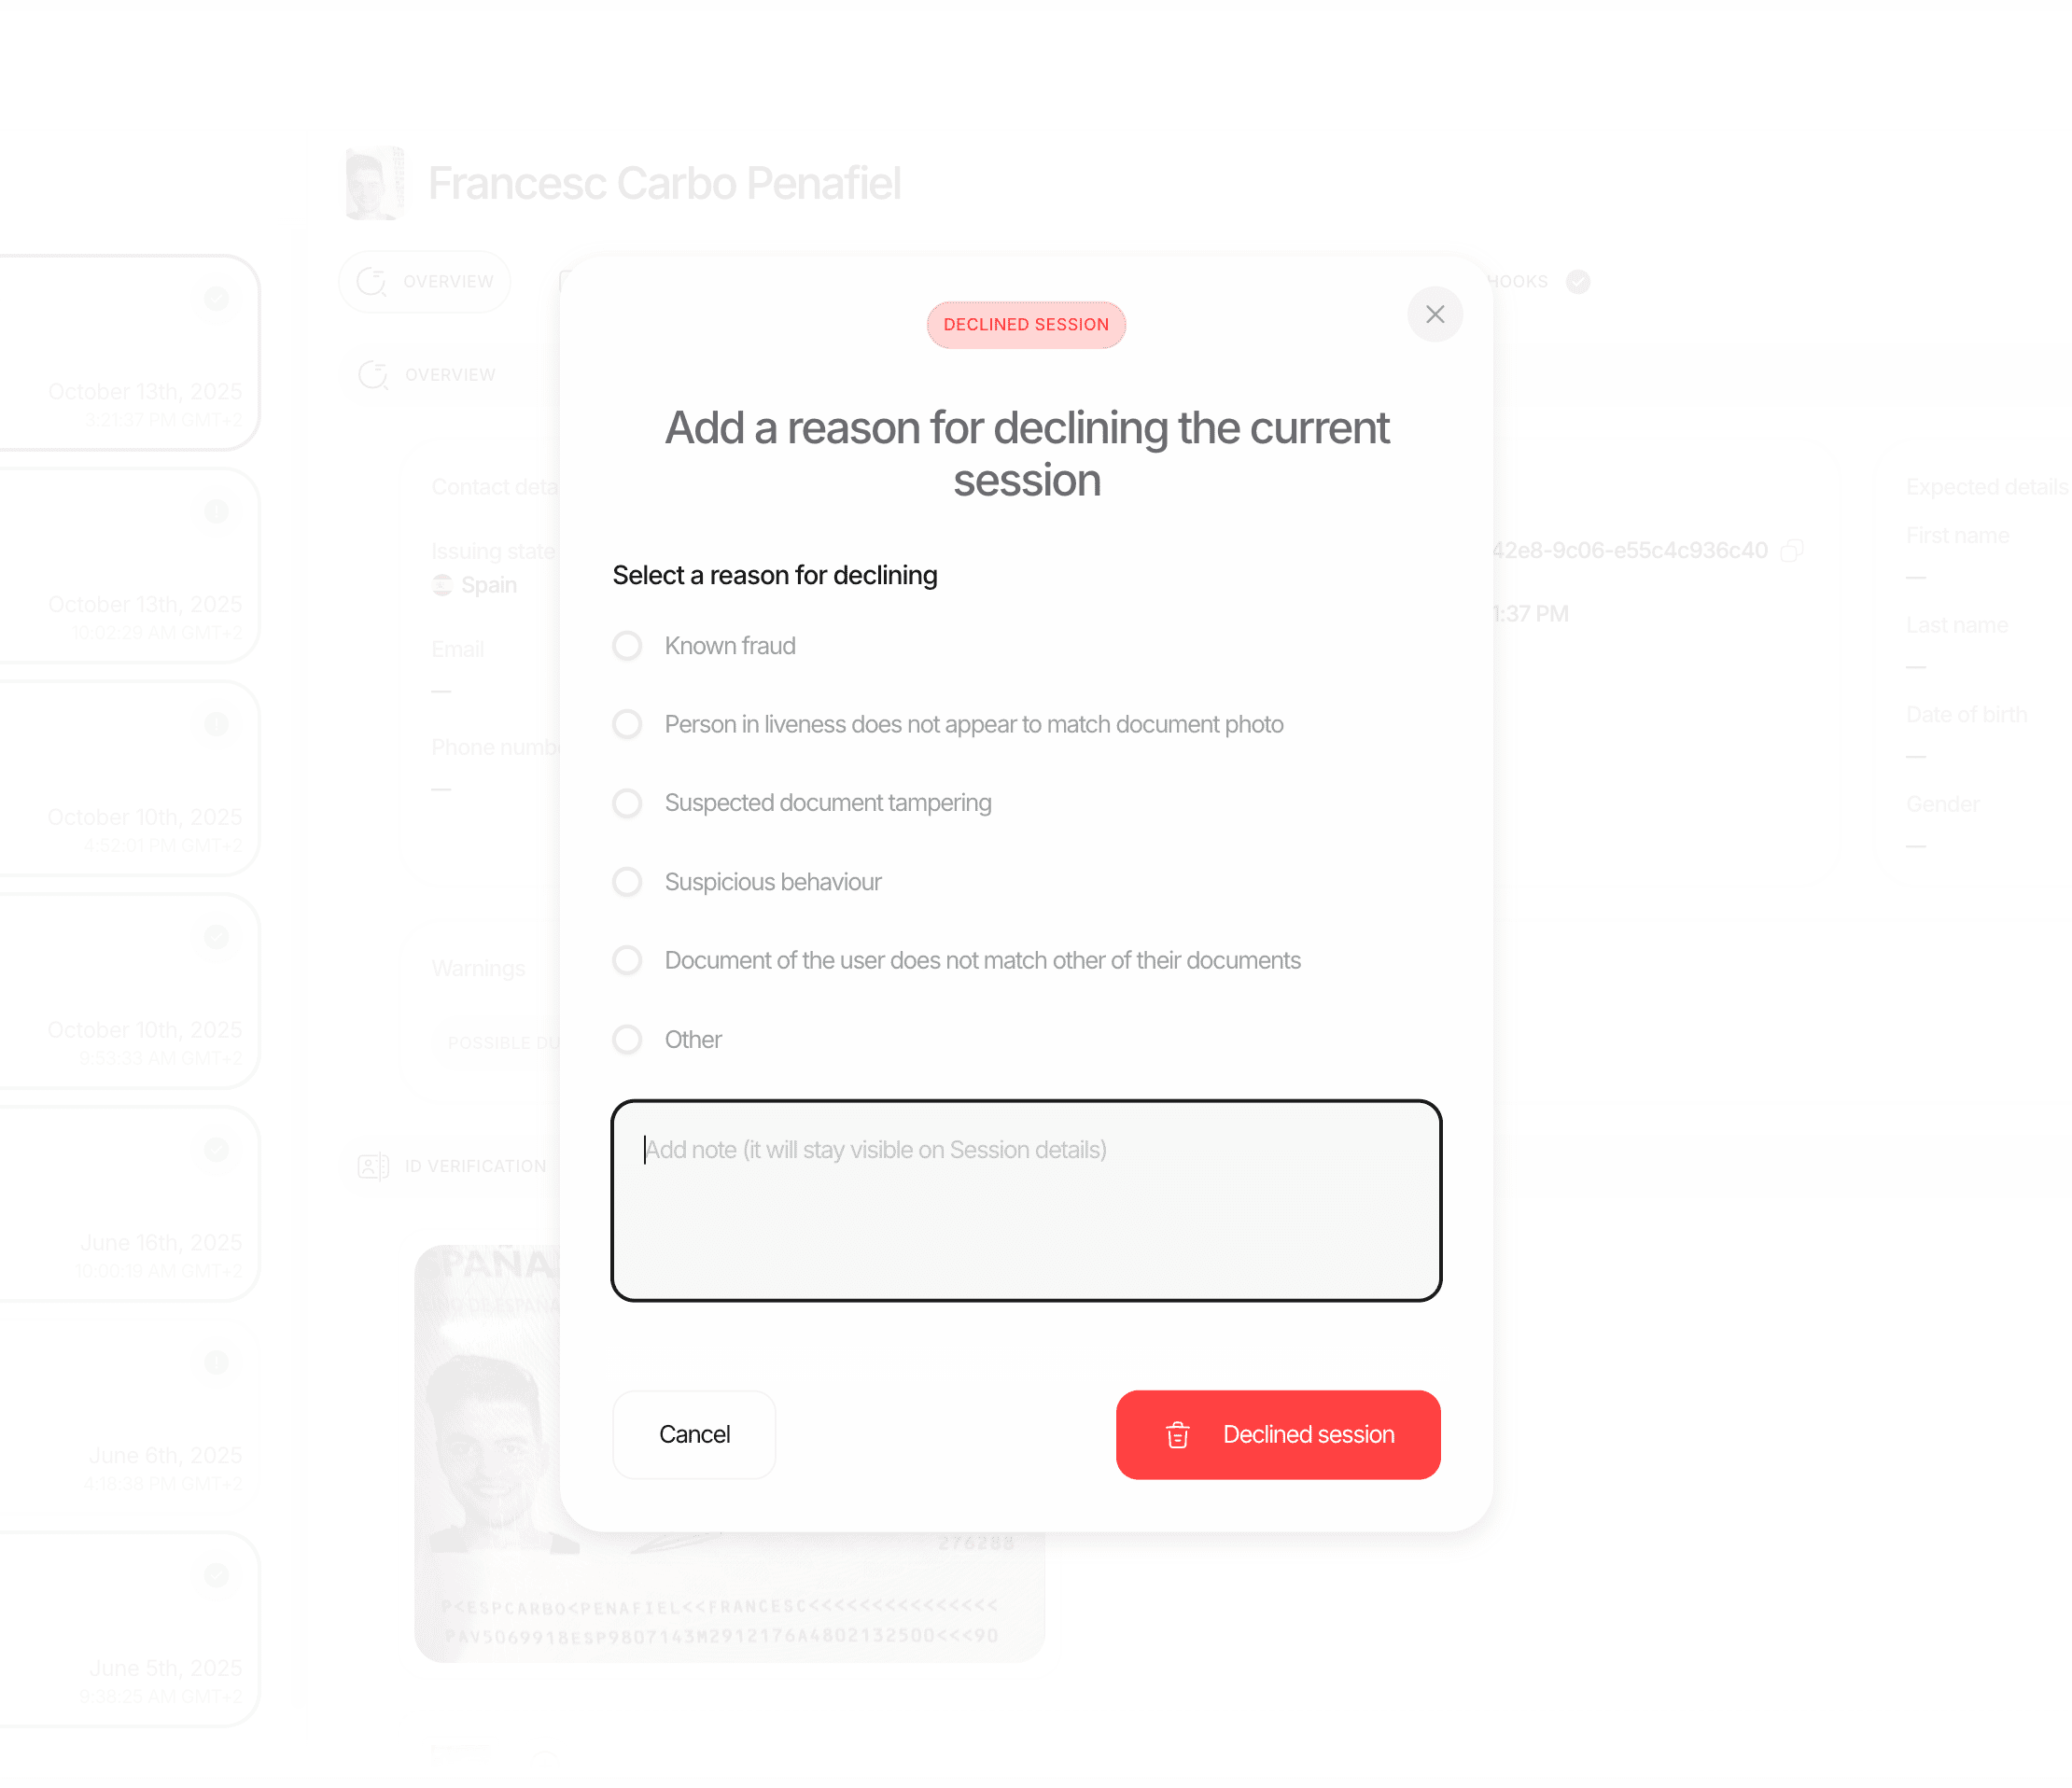
Always select a decline reason and add detailed review notes when declining a session. This supports quality assurance, regulatory audits, and internal analytics.
Requesting a resubmission
When a session cannot be clearly approved or declined — typically because of fixable issues — you can request the user to resubmit specific verification steps.How to request resubmission
Choose features to resubmit
The dialog shows all non-approved features with their current status. Select or deselect individual steps. Features that were never started are automatically required.
Optionally send an email notification
If the user’s email is available, send them a localized notification with a direct link to resume.
What happens after resubmission
- Feature data is reset — only the selected features are cleared. All previous attempt data is archived and marked as
previous_attemptin the logs. - The user re-enters the verification flow — they only need to complete the specific steps that were requested.
- Session stays in Resubmitted status — distinct from In Progress, helping you track resubmission sessions separately.
- Automatic re-evaluation — once all resubmitted features are completed, the system recalculates the final status automatically.
- New webhook fires — your server receives a webhook with the updated final status.
Resubmission vs. creating a new session
| Resubmission | New session | |
|---|---|---|
| Session ID | Same session ID preserved | New session ID created |
| History | Previous attempts archived within the same session | Separate session, no linked history |
| User effort | Only redo failed/selected steps | Full verification from scratch |
| Conversion impact | Higher completion rates | Risk of user drop-off |
| Webhook | Same session ID, status changes to Resubmitted → final status | New session lifecycle from Not Started |
| Audit trail | Complete history in one place | Spread across multiple sessions |
Review best practices
Be consistent
Be consistent
Apply the same standards to every review. Document your reasoning so other team members can understand and replicate your decisions.
Prefer resubmission over decline for fixable issues
Prefer resubmission over decline for fixable issues
If the problem is a blurry photo or a technical error, requesting resubmission preserves the session and avoids unnecessary friction for genuine users.
Use the zoom feature
Use the zoom feature
Always zoom into document images to check for subtle tampering, microprinting, or security features not visible at standard zoom levels.
Cross-reference data points
Cross-reference data points
Don’t evaluate signals in isolation. A low liveness score combined with a VPN connection and mismatched geolocation is more concerning than any single factor alone.
Document everything
Document everything
Add detailed review notes for every decision, especially declines. These notes support internal QA, regulatory audits, and help train new team members.
Set up alerts
Set up alerts
Configure email or Slack alerts to get immediately notified when sessions enter In Review status. Fast response times improve both compliance and user experience.
Monitor resubmission patterns
Monitor resubmission patterns
If a user has multiple resubmission cycles, review the full history carefully. Repeated failures on the same feature may indicate a systemic issue.